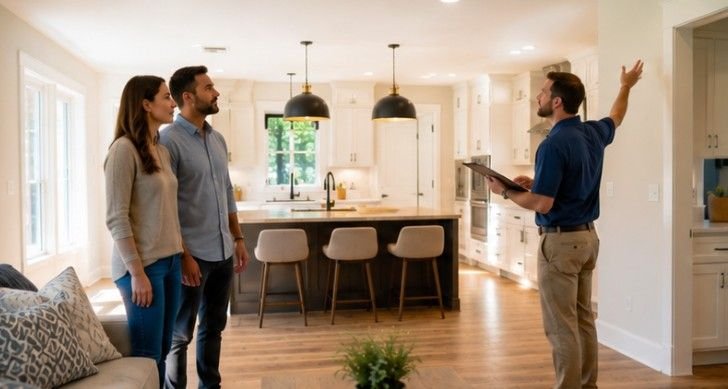
Stepping into your newly remodeled living room feels like entering a dream space you designed yourself. Learning how to inspect home after renovation work finishes ensures that your vision matches the real-world build quality before you make your final contractor payment.
Key Takeaways
- Bring essential tool kit items like circuit testers and painter tape for tagging.
- Inspect all wall finishes, tile trim, and cabinet hardware for alignment.
- Run every plumbing fixture and electrical outlet under maximum load.
- Verify final local city permits and contract scope paperwork thoroughly.
- Retain ten percent of final payment until punch list items get resolved.
Inspecting Home After Renovation Saved My Sanity
Playing detective in your own living room might feel silly at first, but it is actually the ultimate victory lap! Uncovering a hidden pipe leak or an unpowered outlet today stops a massive headache tomorrow, keeping your wallet happy and your excitement intact.
Getting Prepared for Your Walkthrough
Equipping yourself with simple auditing tools makes spotting hidden installation flaws effortless during your walkthrough. Grab a plug-in outlet analyzer, a bright flashlight, a laser measure, and blue painter tape to mark spots directly on surfaces.
Setting Expectations With Your General Contractor
Scheduling a dedicated two-hour inspection block during peak daylight hours keeps communication clear and relaxed. Walk through every room together so both parties agree on what qualifies as completed work versus an item needing extra attention.
Examining Finishes and Surfaces
Evaluating decorative work requires a keen eye and a systematic approach through every newly built space.
Walls and Ceilings
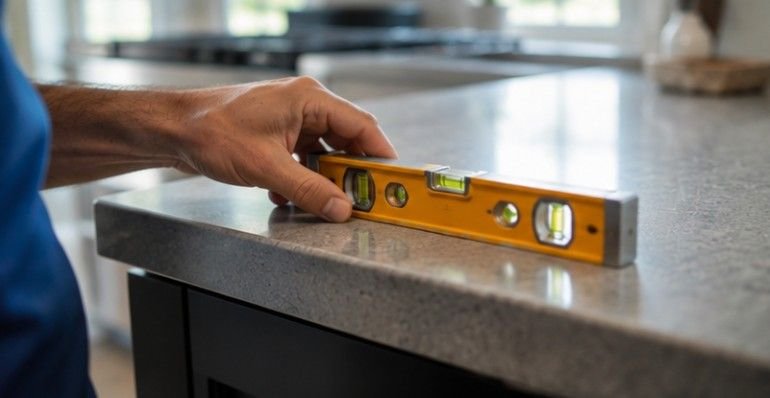
Inspecting drywall installations requires viewing surfaces under both direct natural sunlight and artificial overhead lights. Look closely for uneven seam bumps, visible nail pops, minor cracks, or paint drips near renovated zones to ensure seamless coverage.
Floors and Trim
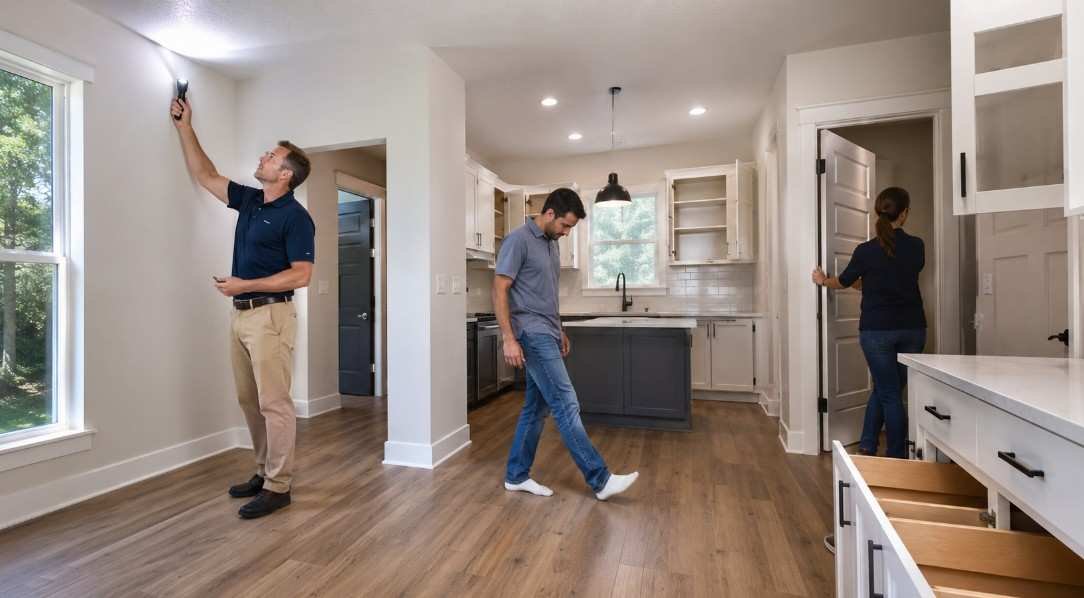
Walking across new flooring in socks helps you detect loose floorboards or hollow sounds beneath fresh floor tiles. Check baseboard connections thoroughly to ensure trim pieces sit completely flush against walls without wide gaps or uneven seams.
Cabinets and Doors
Operating cabinet doors and drawers repeatedly reveals hidden alignment errors caused by hasty hardware installation. Open and close every interior door, pantry drawer, and exterior entry to confirm they latch smoothly without sticking or rubbing against frames.
Testing Mechanical and Electrical Systems
Verifying hidden utility infrastructure requires active stress-testing rather than simple visual approval.
Plumbing
Running every water source simultaneously reveals underlying water pressure drops or slow drain lines in fresh pipes. Turn on all new faucets, flush toilets repeatedly, and check underneath sink cabinets with dry paper towels to spot subtle leaks.
Electrical
Testing newly wired circuits demands checking every single wall outlet rather than assuming one working plug covers the room. Plug a small circuit tester into every receptacle, switch on all light dimmers, and test GFCI reset buttons near sinks.
HVAC
Testing your climate control system protects your home from construction dust lingering inside fresh air ducts. Switch on the heating and air conditioning units, verifying that vents blow air properly throughout all newly renovated living spaces.
Reviewing Paperwork and Permits
Protecting your legal rights and financial investment depends on thorough post-construction record keeping.
Contract Details
Comparing your completed rooms against original project specifications ensures you received every paid upgrade. Review your signed contract line by line to confirm that promised light fixtures, appliance models, and material grades were actually installed.
City Sign-Offs
Verifying municipal compliance protects your property value and prevents severe issues during future home sales. Confirm that your contractor closed out all local building permits with official final city inspection stamps and proper documentation.
Inspect Safety Features and Overall Functionality
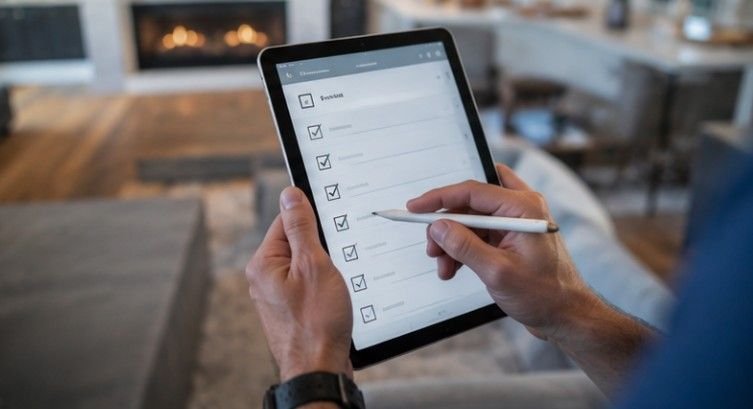
Beyond cosmetic finishes and mechanical systems, take time to verify that every safety feature functions exactly as intended. Test smoke detectors and carbon monoxide alarms to ensure they respond correctly and have fresh batteries if required. Confirm that handrails, stair treads, and guardrails feel secure without movement or loose fasteners. Check that windows open, close, and lock smoothly, especially emergency escape windows in bedrooms.
Walk through each renovated room at different times of the day to observe lighting levels and identify shadows that may reveal uneven paint, drywall imperfections, or flooring defects. Open every window and exterior door to confirm proper weather sealing and smooth operation. Listen for unusual squeaks, rattles, or airflow around frames that could indicate installation issues.
Finally, verify that all newly installed appliances operate correctly according to the manufacturer’s instructions. Run dishwashers through a short cycle, test range hoods, inspect built-in microwaves, and ensure refrigerators, ovens, and ventilation systems work without unusual noises or warning lights. Completing these functional checks helps confirm that your renovation is not only visually appealing but also safe, efficient, and ready for everyday use.
Inspect Home After Renovation Like a Seasoned Professional
Applying systematic inspection steps lets you catch cosmetic flaws and utility glitches with total confidence. Start by gathering your tools, walking through each room in a logical sequence, and tagging defects with painter tape as you notice them.
Next, run all water fixtures, test every electrical plug, and cycle your HVAC unit to confirm mechanical safety. Finally, cross-reference your original contract terms, secure official municipal permit closeouts, and hold back final retainage funds until every punch list defect gets repaired.
For official home construction standards, visit the National Association of Home Builders or review homeowner consumer advice at the Federal Trade Commission website.
Frequently Asked Questions
1. What is the biggest red flag in a home inspection?
Unaddressed water intrusion or fresh plumbing leaks represent the absolute biggest red flag during any walkthrough. Water damages structural framing, triggers dangerous mold growth, and signals immediate pipe installation failure that requires instant professional repair.
2. What to check after renovation?
Focus your post-renovation inspection on three primary areas: surface finishes, utility systems, and legal permits. Check paint finish quality, test electrical outlets, stress-test plumbing, and verify that city building permits have official closeout sign-offs.
3. What is not checked during a home inspection?
Standard inspections do not evaluate internal pipe walls, low-voltage alarm wiring, hidden drain lines, or personal cosmetic choices. They focus strictly on functional operations, structural integrity, and local residential building code standards.
4. Should I get my home appraised after renovation?
Yes, ordering a new property appraisal after major remodeling confirms your increased home equity. An updated appraisal helps adjust your homeowner insurance policy coverage limits and supports future refinancing efforts seamlessly.
Victory Is Yours Now Sit Back and Relax!
Mastering how to inspect home after renovation milestones gives you total peace of mind regarding your property investment. Once your contractor resolves the final punch list items and you release the remaining payment, you can relax completely and enjoy your beautiful, newly upgraded living space for years to come.
Leave a Reply