
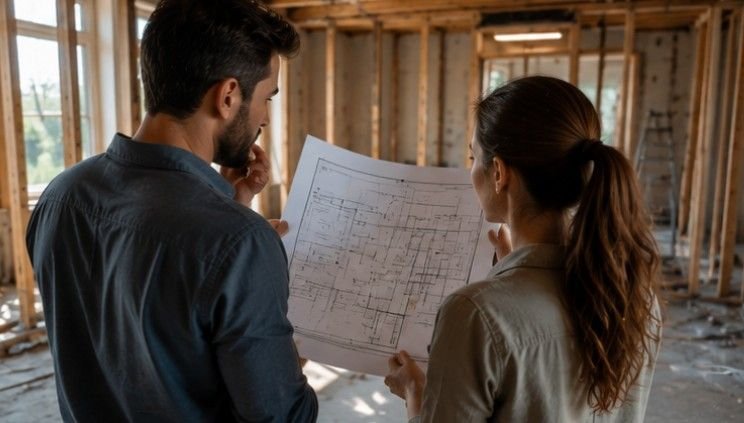
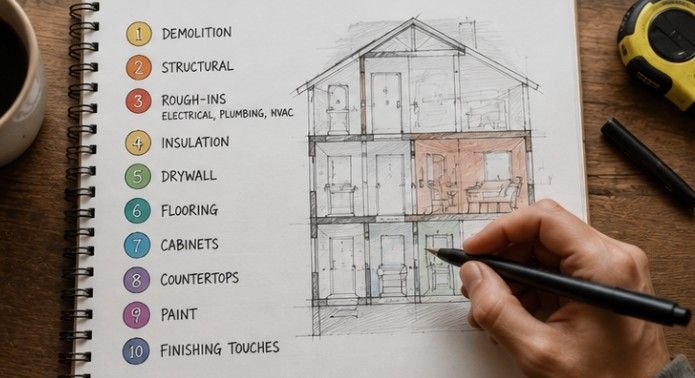
Building your dream living space quickly turns into a chaotic money pit if you tackle project steps out of sequence. Having managed multi-room transformation projects through every messy phase, experience proves that sticking to a strict construction dependency sequence saves thousands. Figuring out what order to remodel a house isn’t just about personal style; it is about keeping trades working smoothly without destroying previous progress.
Step 1: Planning, Design, and Securing Permits
Before swinging a single hammer, establishing a clear structural plan prevents costly change orders down the road.
Setting Budgets and Material Choices
Every successful home transformation begins long before construction crews step foot on your property. You need to draft detailed architectural scope documents, establish firm material budgets, and select key fixtures early. Sourcing custom cabinetry, tile, and appliances early prevents project halts while workers wait for delayed shipments.
Getting Local Building Permits
Skipping municipal building permits might feel like a clever shortcut, but unpermitted structural or electrical alterations cause major issues later. City inspectors ensure your wiring, plumbing shifts, and load-bearing beam modifications meet safety codes. Securing official permits protects your home value and guarantees smooth transactions when you eventually sell.
Step 2: Exterior Repairs and Demolition
Once plans clear, heavy tear-out work clears away old materials to build a clean baseline for construction.
Fixing Roofs and Sealing Exterior
Never invest in high-end interior finishes until your exterior building envelope remains completely airtight and watertight. Repairing sagging roof rafters, replacing leaking skylights, and sealing foundation walls happen right here. Securing windows and doors keeps indoor construction zones protected against weather damage during upcoming wall installations.
Controlled Interior Tear-Out
Heavy demolition removes outdated fixtures, custom cabinets, and unwanted interior partition walls to prepare the space. Demolition clears out worn subflooring and exposes the bare structural bones of your residence. Staging dumpsters on-site handles heavy debris, keeping pathways clear so subcontractors can safely move equipment inside.
Step 3: Framing and Structural Modifications
With the house opened up, carpenters step in to build the functional structural backbone of your living area.
Building Walls and Support Beams
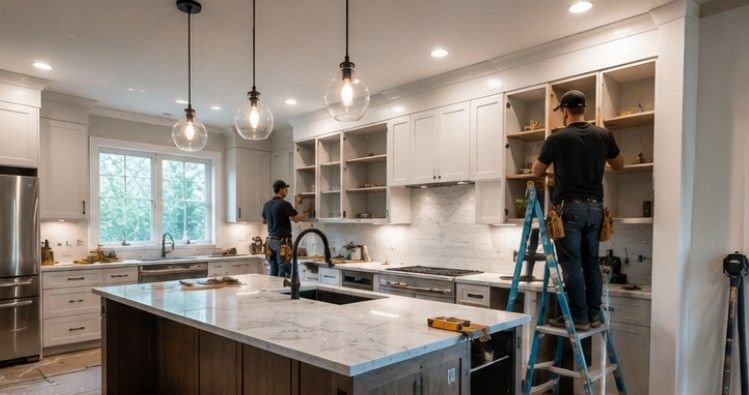
Framing crews construct new room layouts, alter interior doorway headers, and reinforce floor joists to support heavy stone counters. Opening up closed floor plans requires engineered support beams to safely transfer structural loads. This stage establishes the physical footprint for all future cabinetry, plumbing fixtures, and lighting locations.
Repairing Hidden Framing Issues
Exposing internal wall bays often reveals past water damage, termite activity, or sagging structural elements that require immediate attention. Carpenter teams sister damaged joists and level uneven subfloors before proceeding to interior trade work. Resolving structural issues now prevents sloping floors and cracked drywall after your project finishes.
Step 4: Rough-In Mechanical Systems
Closing up open wall bays turns a chaotic, dusty jobsite into an actual recognizable living area.
Running MEP Utilities in Open Walls
Contractors follow a strict order during system rough-ins: bulky HVAC ductwork goes in first, followed by sloped plumbing drain lines, and flexible electrical wiring last. Routing electrical wires around rigid plumbing pipes prevents accidental trade conflicts behind enclosed spaces. Installing these core utilities while studs remain bare ensures fast, efficient runs.
Passing Municipal Rough Inspections
Once all mechanical runs are positioned, city building inspectors review the open framing to approve safety code compliance. Inspectors check wire gauges, plumbing pressure, and duct placement before anything gets covered up. Passing this official review gives you green light approval to insulate and seal wall cavities.
Step 5: Insulation and Drywall Installation
Adding insulation and hanging wallboards transforms bare framing into defined, comfortable room spaces.
Fitting Wall and Ceiling Insulation
Proper thermal insulation gets fitted snugly into open wall cavities, crawlspaces, and ceiling joists. Spray foam or mineral wool batts deliver essential soundproofing and energy efficiency throughout living areas. Sealing these spaces creates a comfortable indoor climate and lowers monthly utility heating costs.
Hanging, Taping, and Mudding Drywall
Drywall crews lift, screw, tape, and coat gypsum boards across all exposed interior walls and ceiling planes. Multiple thin coats of joint compound are applied, followed by extensive sanding to achieve seamless surfaces. Proper drying time between mudding coats prevents future joint cracking when structural temperatures shift across seasons.
Step 6: Painting and Wall Preparation
Executing finish materials in the right order preserves your expensive surface choices from accidental damage.
Painting Ceilings and Wall Priming
Applying primer and initial paint coats before laying new flooring speeds up work and eliminates stress. Painters work freely using extension poles and ladders without worrying about paint splatter landing on brand-new surfaces. Getting overhead ceiling painting completed early protects low-level finishes from dripping mess.
Protecting Surfaces Before Floor Work
Completing major wall painting tasks ahead of finish flooring keeps your construction site organized and clean. Primer seals fresh drywall paper so topcoat paint glies on smoothly with vibrant, even coverage. A simple final touch-up coat happens much later after all heavy cabinet installations finish.
Step 7: Finish Flooring Installation
Laying down quality flooring creates a level foundation for all built-in woodworking and trim elements.
Installing Hardwood, Tile, or Vinyl
Laying finished flooring across entire rooms before setting base cabinets creates a flat plane and seamless aesthetic. Modern Luxury Vinyl Plank or solid hardwood floors extend wall-to-wall so future appliance replacements slide out effortlessly. Tile work in bathrooms and kitchens gets grouted and sealed before fixture setting.
Curing and Protecting New Floors
Newly laid flooring requires proper curing time and protective covering before heavy trades roll in cabinets. Contractors lay heavy builder board paper across wood and tile to prevent scratches from boots or falling tools. Keeping floors covered guarantees your pristine investment stays flawless until move-in day.
Step 8: Cabinetry and Architectural Trim
Setting custom woodworking shapes the functionality and character of your newly renovated kitchen and living spaces.
Mounting Base and Wall Cabinets
Carpenters anchor heavy kitchen base cabinets directly into wall studs for solid, level countertop support. Precision leveling ensures cabinet boxes sit flush across floor spans without awkward gaps along walls. Setting upper wall cabinets completes the layout framework required for precision countertop measurement.
Fitting Countertops and Interior Trim
Fabricators template, cut, and secure durable stone countertops directly over level base cabinet structures. Finish carpenters follow closely behind to install decorative baseboards, door casings, window trim, and crown molding. Sharp trim carpentry covers expansion gaps around flooring and gives rooms a polished appearance.
Step 9: Final Fixture Trim-Out
The final transformation stage brings your renovated home to life with working power, running water, and sparkling details.
Connecting Electrical and Plumbing Hardware
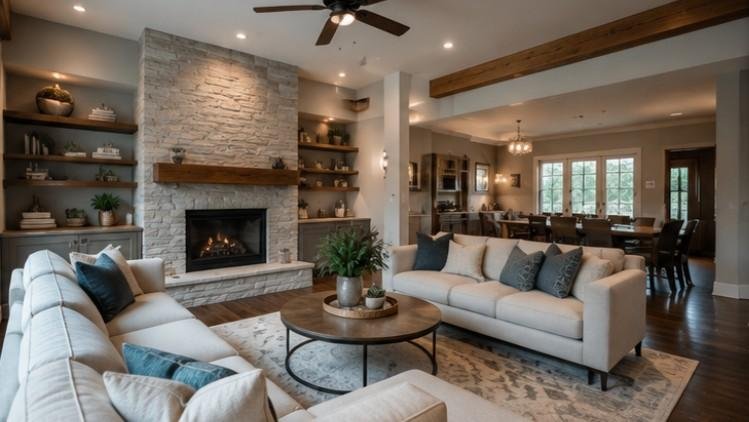
Electricians mount designer light fixtures, decorative switch plates, and cover outlets across every room. Plumbers connect sink faucets, garbage disposals, shower heads, and toilets to previously inspected rough piping. Testing every fixture guarantees leak-free operation and smooth electrical performance throughout your home.
Installing Appliances and Punch List Review
Heavy kitchen appliances slide into place, hooking directly into designated gas, water, and electrical connections. You conduct a thorough final walkthrough with your general contractor to build a detailed punch list. Fixing minor paint touch-ups and cabinet adjustments marks the official completion of your house remodel.
Also read: Permits Needed for Your Next Home Renovation
Frequently Asked Questions
1. In what order should a house be renovated?
A house should be renovated by completing planning and permits first, followed by exterior repairs, demolition, framing, utility rough-ins, insulation, drywall, painting, flooring, cabinetry, and final fixture connections. Following this logical sequence prevents damage to completed work and avoids costly contractor delays.
2. What are the biggest home renovation mistakes?
The biggest mistakes include skipping municipal permits, changing design plans mid-construction, ordering materials late, failing to set a contingency budget, and installing finish flooring before completing messy drywall sanding or ceiling painting tasks. Avoiding these errors saves thousands of dollars during your remodel.
3. What is the most expensive part of a house to remodel?
Kitchens and primary bathrooms represent the most expensive spaces to remodel due to high material costs and skilled labor requirements. Shifting plumbing lines, upgrading electrical panels, buying custom cabinetry, and installing stone countertops quickly drive up overall project expenses per square foot.
4. What is the 30% rule for renovations?
The 30% rule states that your total home renovation budget should not exceed 30% of your property’s total market value. Additionally, it recommends holding a 20% to 30% cash buffer within your overall budget to handle unexpected structural or electrical issues uncovered during demolition.
You Made It to the Finish Line!
Mastering what order to remodel a house turns a potentially chaotic project into an exciting, structured home improvement success. When you follow logical dependencies—securing the building shell, running mechanical utilities early, and saving finish details for last—you protect your budget every step of the way. Map out your renovation timeline today, partner with trusted trade professionals, and enjoy your beautifully transformed home!